Sell Gift Cards Online
The purpose of this article is to cover the steps a customer can take to sell a gift card online.
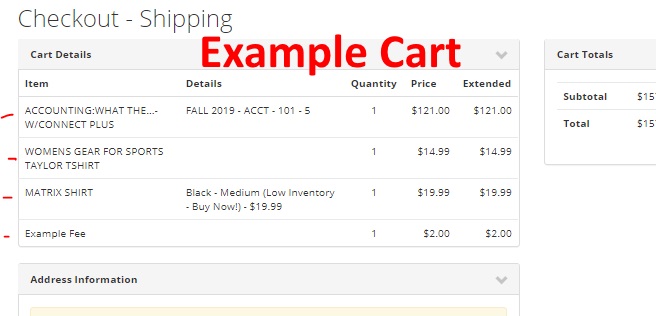
The general process is to create fee codes at the desired price points, assign them to a a web catalog, and then generate the unique Gift Card/Voucher code when the order has been completed.
Pre-Requisites
- Determine the desired price points
- Determine the correct class code
- If using an image, have the full image name handy
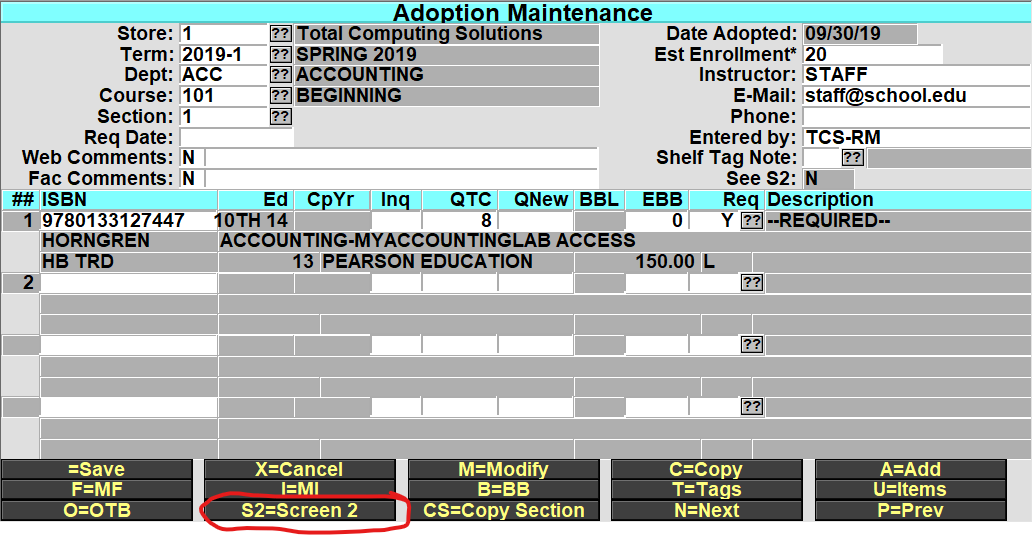
Create Gift Card Fee Code(s)
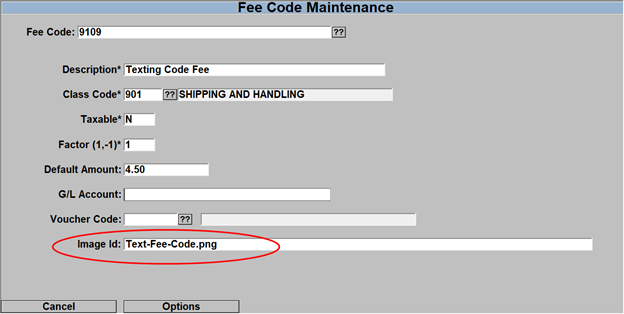
- Navigate to POS-22-23 for Fee Code Maintenance and fill out the necessary fields
- Add a new code (we recommend at least four digits)
- Enter a description for the gift card
- This will display on the website. We recommend stating the value in the description if multiple price options are used.
- Assign the appropriate Class Code
- Flag whether or not the purchase is taxable (typically no)
- Set Factor to 1
- Enter the desired amount for Default Amount
- Set the Voucher Code to GC
- Enter the name of the image to display in the Image ID field (optional)
- Be sure to upload any image assigned to the website under the GM Images directory
- Repeat as needed for each price point
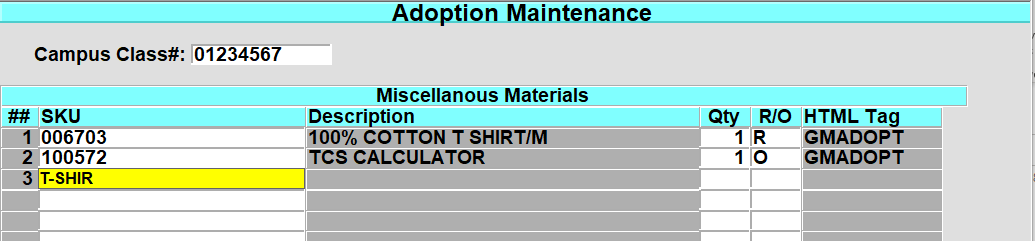
Add Gift Card Fee to Web Catalog
- Navigate to POS-22-5 and enter the desired Catalog ID
- Fill out the required fields if this is a new catalog
- Add the Fee Code(s) created above in the SKU column
- Save your changes
- The price points are now available for purchase on the website
- Customers can search or navigate through the catalog to get to the item
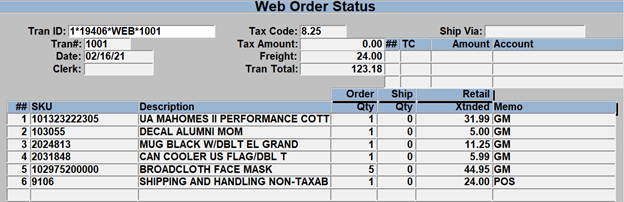
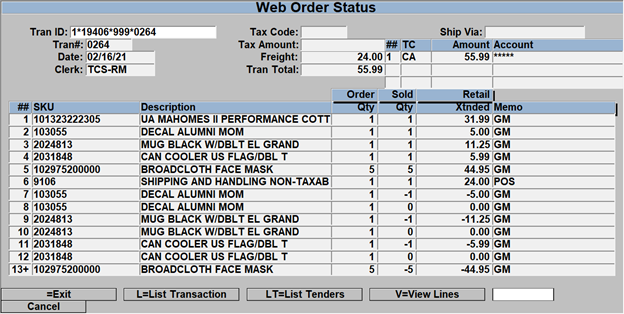
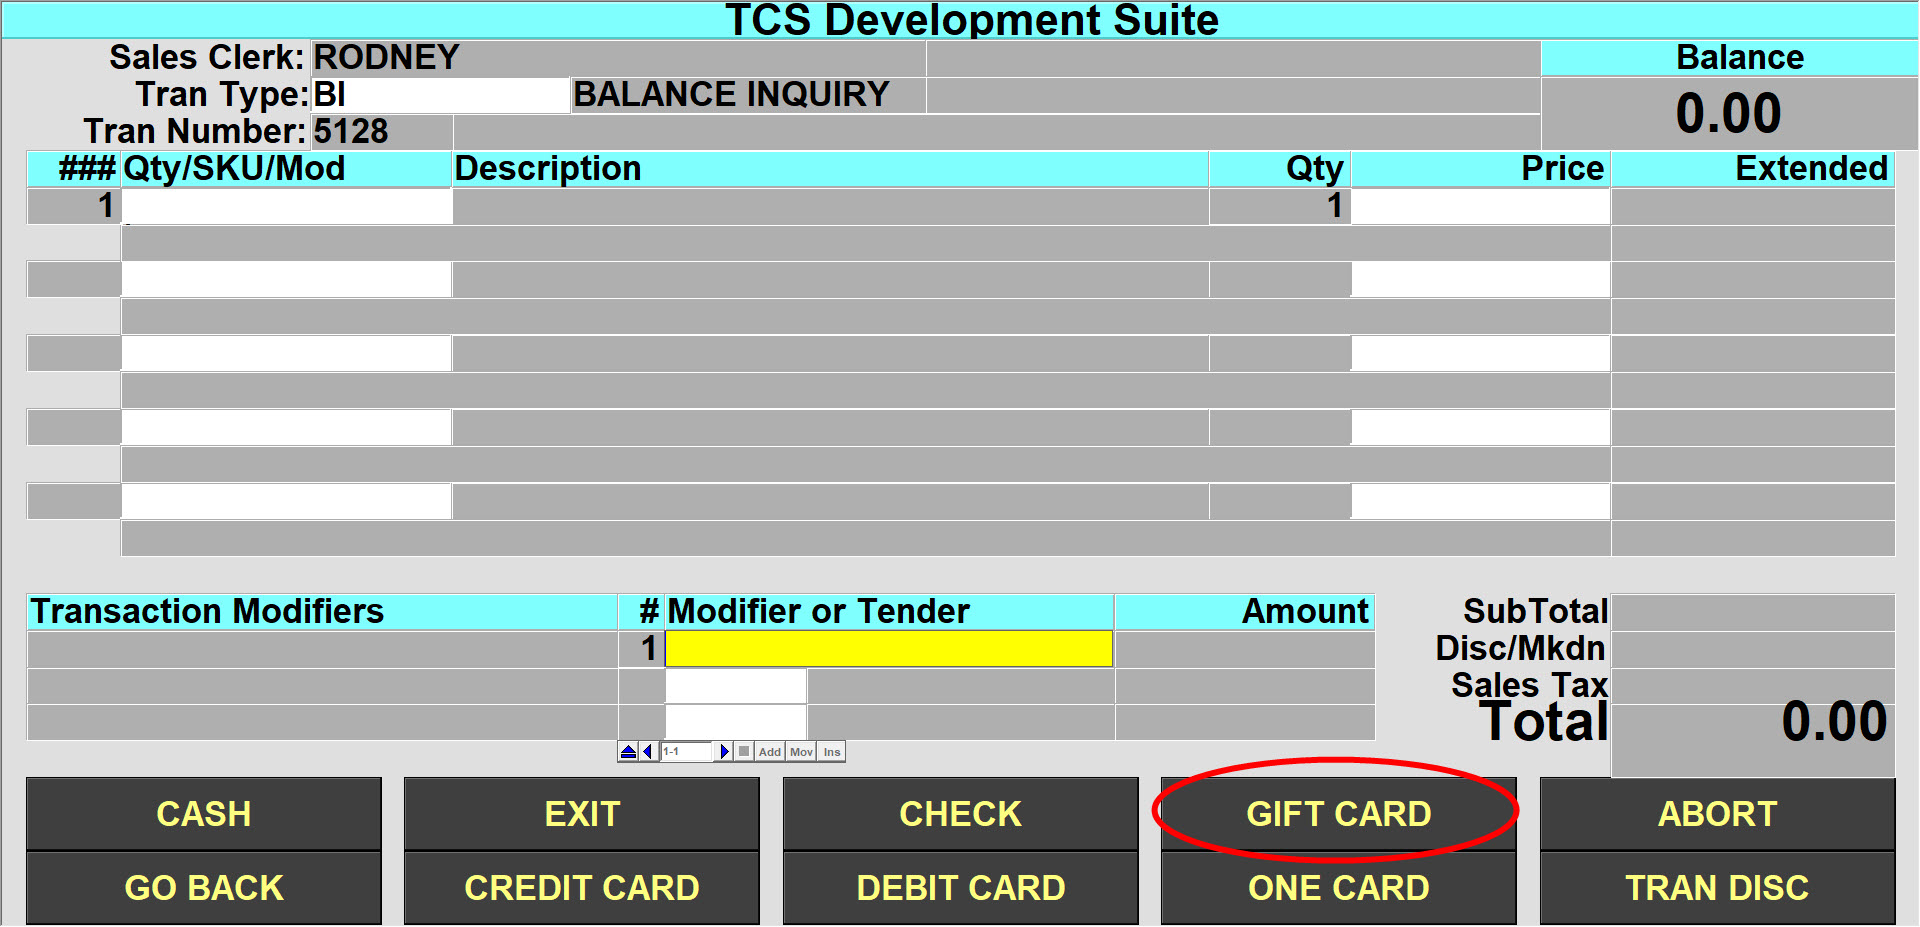
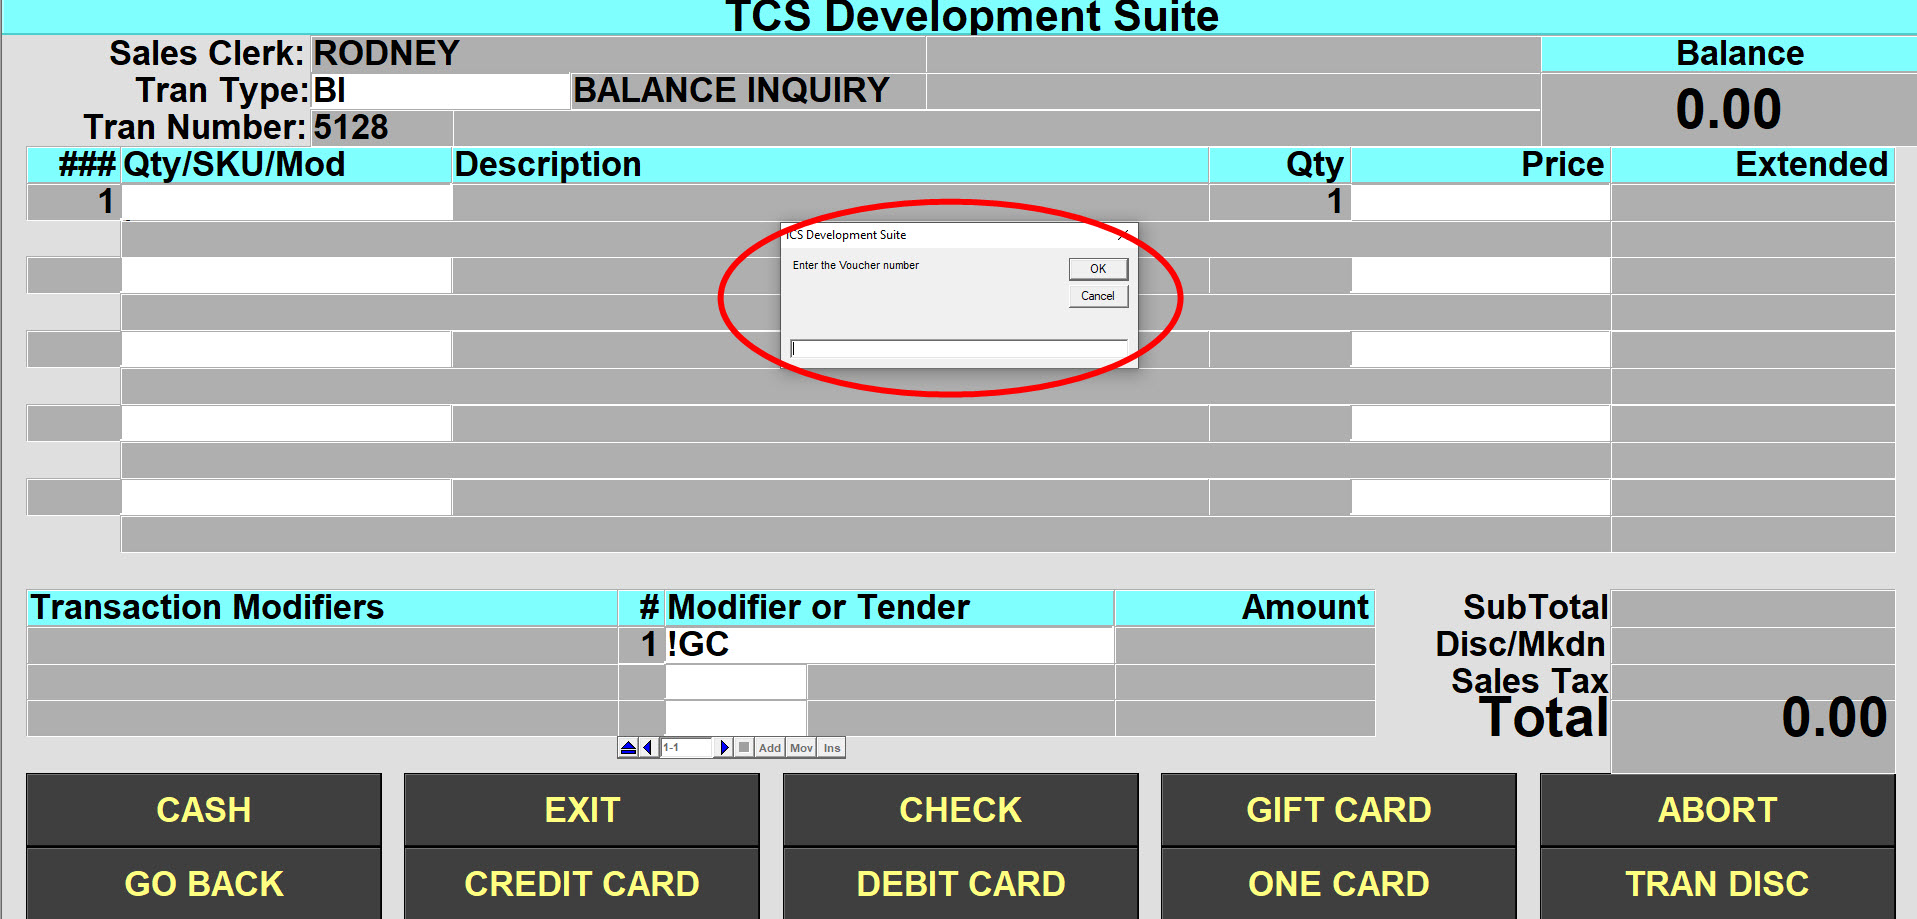
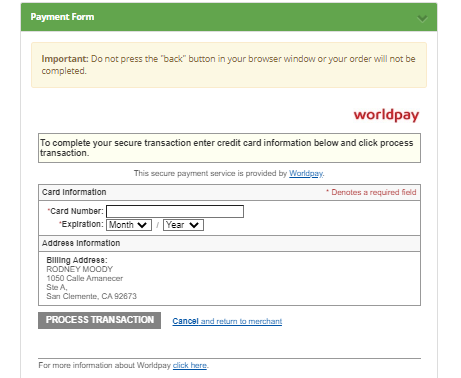
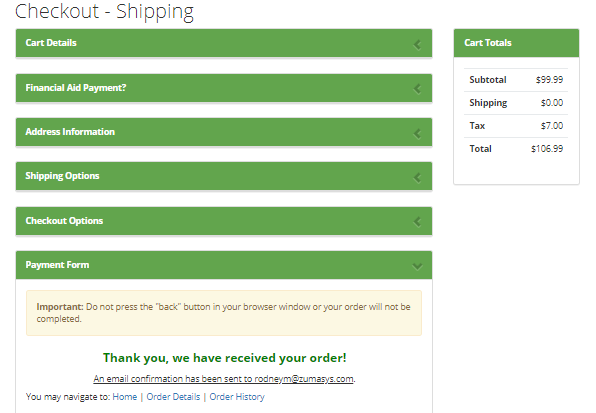
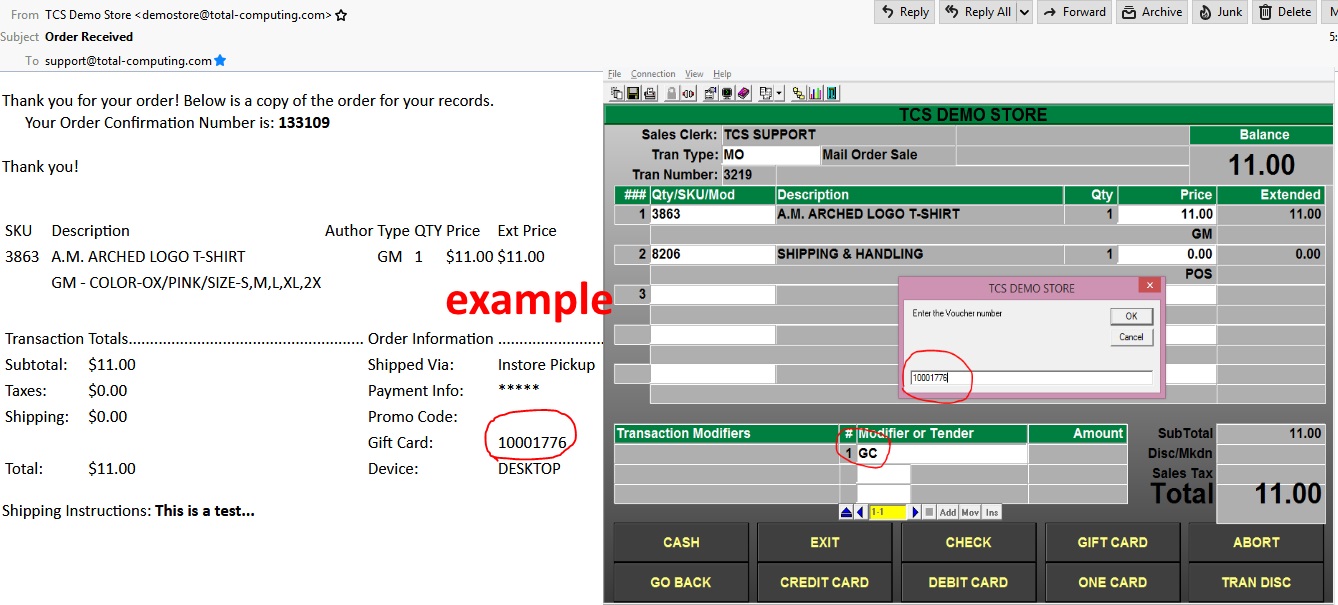
Order Fulfillment
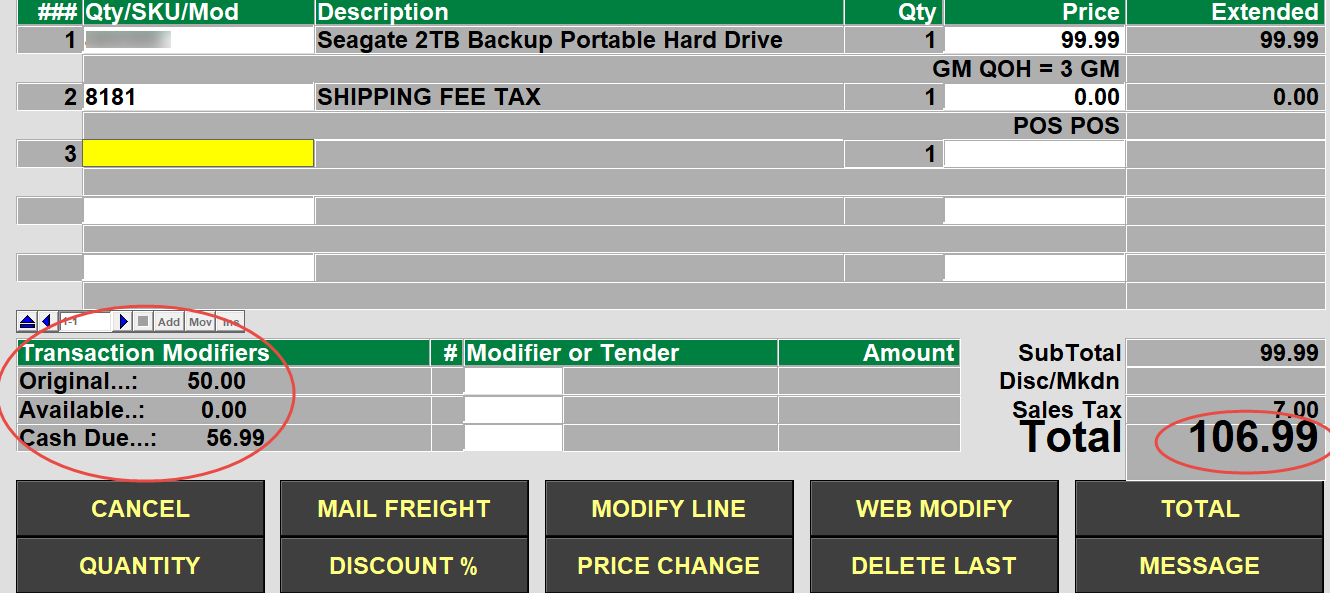
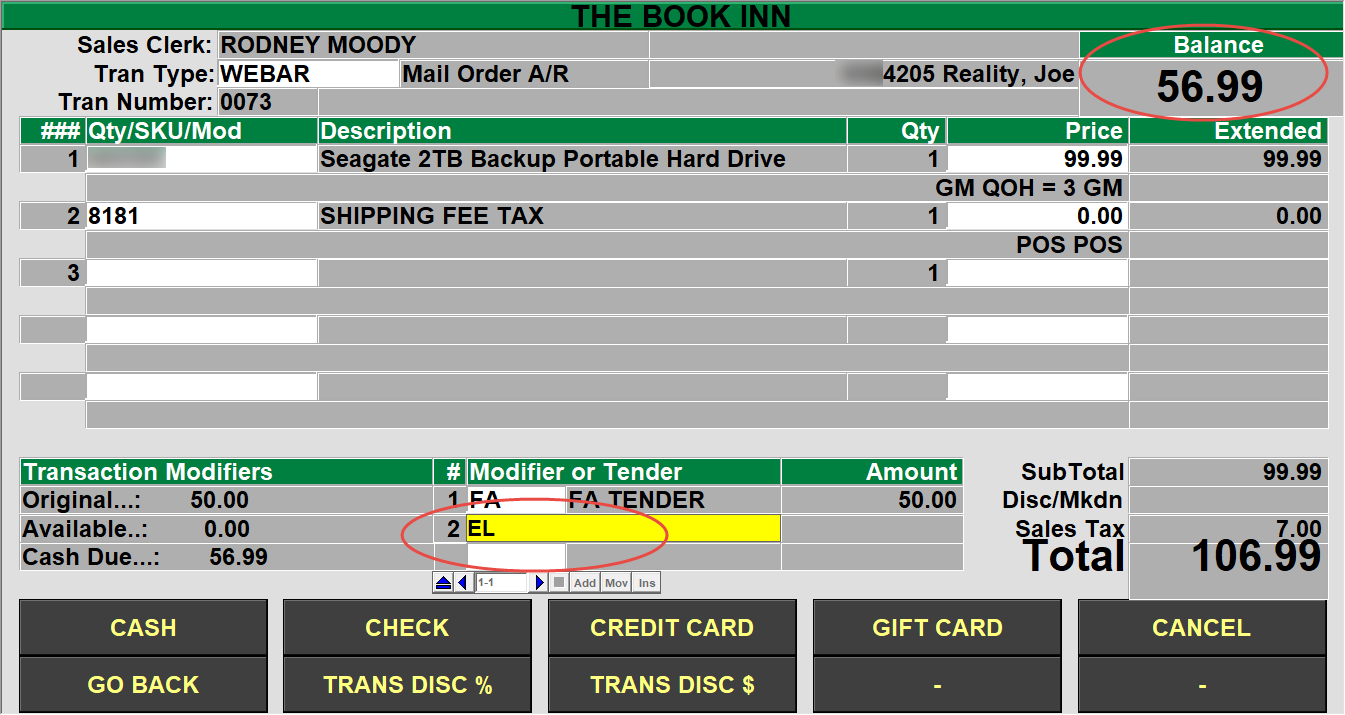
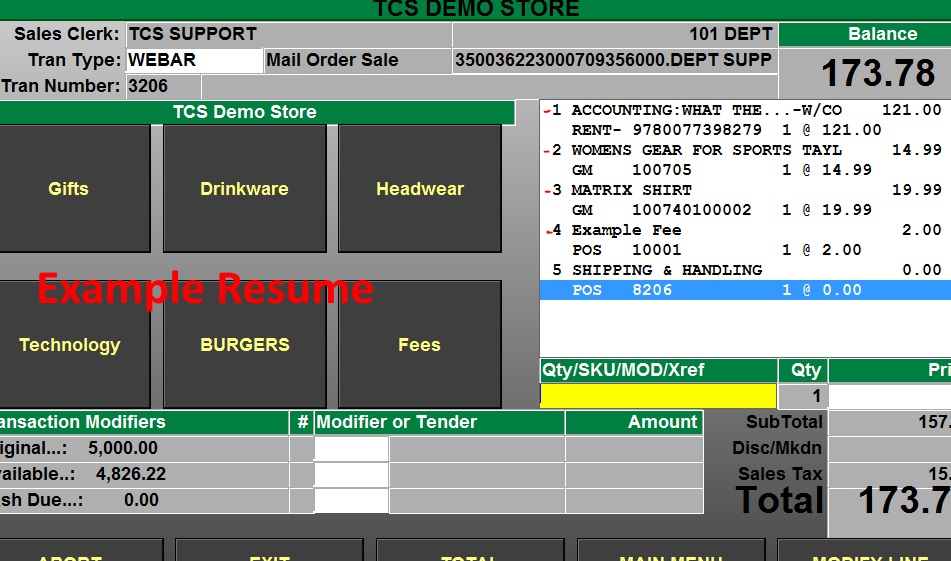
When processing the transaction, the clerk will process and activate the Gift Card the same as if it was sold in a regular transaction. The only difference is that instead of prompting for a dollar amount, the fee code automatically populate with a dollar amount.