Add or Change a Designated Printer
Add or Change a Designated Printer
In the TCS application on the computer that needs the printer added or changed.
- First, the printer needs to be added to Windows, it MUST exist in Windows before it can be added to the TCS application. You may need to reach out to your school IT department to add the printer to your computer.
- Once the printer exists in Windows, you close/start the TCS application.
- Select the ‘Properties’ icon on the tool bar,

- Select the tab ‘Other’,

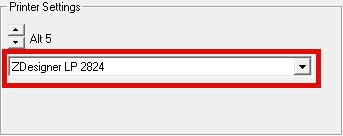
- Select the Printing Type that you need to make the change for, the options are
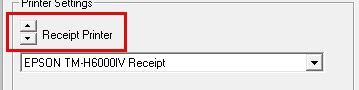
- Receipt Printing
- Report Printing
- Barcode Printing
- Display Pole Printing
- Alt Printers.
- Once the printing type is selected, use the drop down menu to select which printer to use for the associated printing type.
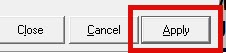
- Select the option to ‘Apply’ and then ‘Close’ to save the changes.